Proyek 4 - Simple Calculator with Keypad and LCD 16x2

Halo guys!
Kali ini, kami akan menceritakan bagaimana pengalaman kami dalam membuat kalkulator sederhana menggunakan keypad, LCD, dan tentunya Arduino. Awalnya kami mengalami sedikit kesulitan yaitu LCD yang digunakan tidak dapat menampilkan angka yang diinginkan melainkan hanya menampilkan kotak-kotak. Setelah diselidiki, ternyata permasalahan utamanya terletak pada pin LCD yang tidak terpasang dengan pas alias kendur. Untuk mengatasinya, kami akhirnya menyolder LCD-nya sehingga memiliki kaki-kaki yang tingal dipasang pada breadboard.
Ya, sudah, begitu saja ceritanya. Sekarang kita mulai membahas langkah-langkah pembuatan kalkulator sederhana mengguakan Arduino. Berikut adalah langkah-langkah yang dapat teman-teman ikuti.
Ya, sudah, begitu saja ceritanya. Sekarang kita mulai membahas langkah-langkah pembuatan kalkulator sederhana mengguakan Arduino. Berikut adalah langkah-langkah yang dapat teman-teman ikuti.
Persiapan
Sebelum kita membuat kalkulator sederhana menggunakan Arduino, kita perlu mempersiapkan alat dan bahannya terlebih dahulu yaitu:
- Arduino Uno
- Kabel USB
- Kabel Jumper
- Resistor 220 ohm (1 buah)
- Keypad (1 buah)
- LCD 16x2
- Potensiometer (1 buah)
- Breadboard
- Kawat Timah (Secukupnya, untuk menyolder LCD)
- Solder
- Komputer yang telah diinstall software Arduino
Dari daftar alat dan bahan di atas, seperti biasa kita dapat membaginya menjadi komponen input, proses, dan output. komponen yang termasuk ke dalam kategori input yaitu keypad. Komponen proses diantaranya Arduino, kabel jumper, dan resistor. Sedangkan komponen outputnya adalah LCD 16x2.

Gambar 1 - Arduino Uno
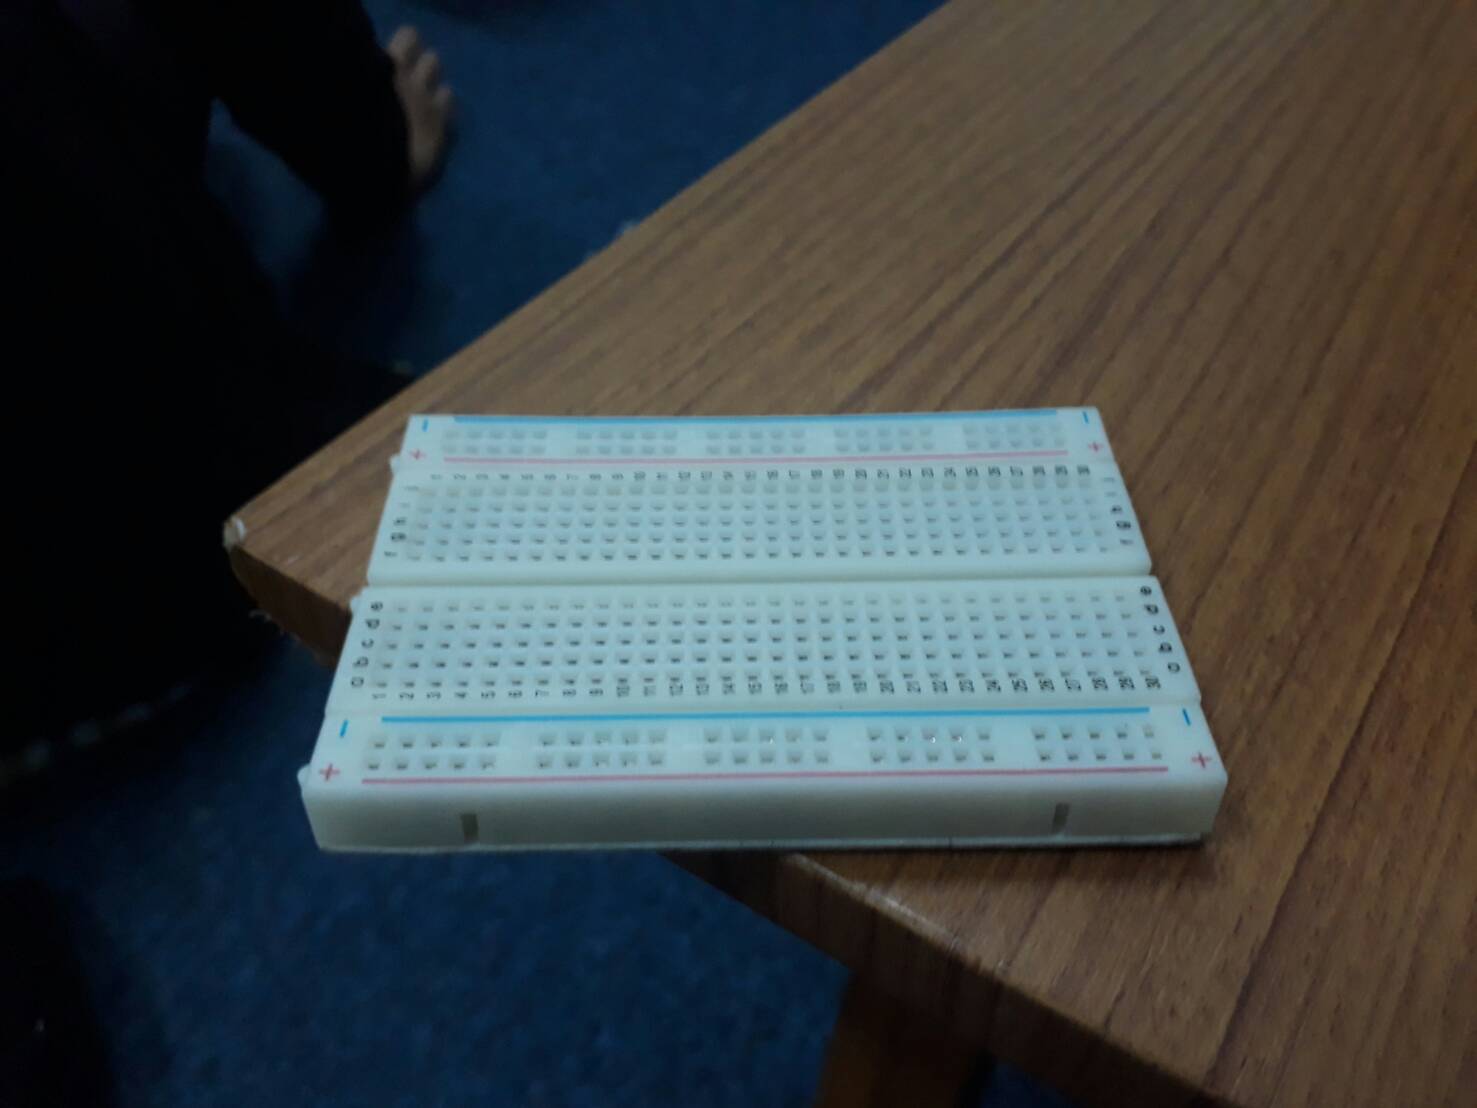
Gambar 2 - Breadboard


Gambar 4 - LCD 16x2
 Gambar 5 - Potensiometer

Gambar 6 - Solder
 Gambar 7 - Kawat Timah


Gambar 6 - Solder

Implementasi (perakitan dan pembuatan kode program)
Setelah alat dan bahannya siap, mari kita mulai merangkai. Skema rangkaiannya kurang lebih sebagai berikut.

Gambar 8 - Diagram Skematik Rangkaian Simple Calculator
Setelah mengikuti susunan yang terdapat pada gambar 8, kurang lebih rangkaiannya akan menjadi seperti gambar di bawah ini.

Setelah selesai merangkai, sekarang kita harus membuat kode program yang memerintahkan Arduino agar sesuai dengan keinginan kita. Buka software Arduino yang dapat diunduh di sini. Setelah software siap digunakan, ketikkan kode program yang akan dijalankan. Berikut kode program yang digunakan pada proyek kali ini.
#include <Keypad.h>
#include <LiquidCrystal.h>
LiquidCrystal lcd(7,8,9,10,11,12); // Allocate pins to LCD
long num1,num2 ;
double total;
char operation,button;
const byte ROWS = 4;
const byte COLS = 4;
char keys[ROWS][COLS] = {
{‘1’,’2',’3',’+’},
{‘4’,’5',’6',’-’},
{‘7’,’8',’9',’*’},
{‘C’,’0',’=’,’/’}
};
byte rowPins[ROWS] = {A2,A3,A4,A5}; //connect to the row pinouts of the keypad
byte colPins[COLS] = {2,3,4,5}; //connect to the column pinouts of the keypad
Keypad customKeypad = Keypad( makeKeymap(keys), rowPins, colPins, ROWS, COLS);
void setup() {
// put your setup code here, to run once:
pinMode(13, OUTPUT);
digitalWrite(13, LOW);
lcd.begin(16,2); // initialize the lcd
}
void loop()
{
// Loops are convenient for reading key press from keypad
while(1) // First loop. Here we read keypad and compose our first number. It does so untill we press operation button and break’s out of loop or ‘C’ and it starts from beginning of this loop
{
button = customKeypad.getKey(); // Button read
if (button==’C’) // If user wants to resset while he is writing first number
{
num1=0;
num2=0;
total=0;
operation=0;
lcd.clear();
}
if (button >=’0' && button <=’9') // If user pressed numeric value, 1 character at a time.
{
num1 = num1*10 + (button -’0'); // Our numeric values are 0–9 witch means they are in first decade, when we multiply with 10 we basicaly add zero after number,
// than we add a new number entered to that zero spot. As for (button -’0') this is simple ASCII table “trick” 0…9 in ASCII table are 48 … 57,
// so by subtracting ‘0’ from any of them we get their value in decade system ex. char ‘5’ = 53 in decade numeric system minus 48 for zero char gives us value of actual 5,
// if our previous number was ex. 25 we get 250 by multiplying it with 10 and then we add 5 and we get 255 witch gets printed on LCD.
lcd.setCursor(0,0); // Select first row on lcd
lcd.print(num1); // Print current number1
}
if (num1 !=0 && (button==’-’ || button==’+’ || button==’*’ || button==’/’)) // If user is done inputing numbers
{
operation = button; // operation remembers what mathematical operation user wants on numbers
lcd.setCursor(0,1); // set cursor to row 2
lcd.print(operation); // print our operator
break;
}
}
while(1) // Second while loop, it loops untill user has pressed ‘=’ or ‘C’. so it either prints total or ressets program
{
if (button ==’C’){break;} // This covers case where user pressed operator and still wants to reset
button = customKeypad.getKey();
if (button==’C’) // Making sure user wants to reset at anytime
{
num1=0;
num2=0;
total=0;
operation=0;
lcd.clear();
break;
}
if (button >=’0' && button <=’9') // Getting chars from keypad for number 2
{
num2 = num2*10 + (button -’0');
lcd.setCursor(1,1);
lcd.print(num2);
}
if (button == ‘=’ && num2 !=0)// If button pressed was ‘=’ its the end of the road. Calls domath() subroutine does calculation and print our results
{
domath();
break;
}
}
while(1)
{
// After all is done this loop waits for ‘C’ key to be pressed so it can reset program and start over.
if (button ==’C’){break;} // This line is side effect of previous loop since if user pressed ‘C’ it breaks out of previous loop and continues here.So we need to break this one aswell or user would need to press ‘C’ 2 times
button = customKeypad.getKey();
if (button ==’C’)
{
lcd.clear();
lcd.setCursor(0,0);
num1=0;
num2=0;
total=0;
operation=0;
break;
}
}
}
void domath() // Simple switch case to pick what operation to do, based on button pressed by user.
{
switch(operation)
{
case ‘+’: // Addition
total = num1+num2;
break;
case ‘-’: // Subtraction
total = num1-num2;
break;
case ‘/’: // Division. Could add error for division by zero, or change line in second loop where it waits for ‘=’ char to if (button == ‘=’ && num2 != 0) this will halt program untill num2 is not zero and then continue
total = (float)num1/(float)num2;
break;
case ‘*’: // Multiplication
total = num1*num2;
break;
}
// Based on case selected print our total and
lcd.setCursor(0,1);
lcd.print(‘=’);
lcd.setCursor(1,1);
lcd.print(total);
}
Hubungkan Arduino yang telah dirangkai dengan komputer menggunakan kabel USB, kemudian jalankan source code yang telah dibuat. LED yang tertanam pada board Arduino akan berkedip jika kode yang kita buat berhasil dieksekusi oleh Arduino.
Pengujian
Setelah kode program berhasil diupload ke Arduino, kini kita perlu melakukan pengujian apakah rangkaian kita sudah benar. Rangkaian kita dapat dikatakan benar apabila LCD meampilkan apa yang kita tekan pada keypad. Selain itu, perhitungan penjumlahan, pengurangan, pembagian, dan perkalian harus sesuai.
Selamat mencoba dan sampai jumpa di tutorial selanjutnya!
*untung berhasil*
Our Team
18214018 Mahbub Haq Al Farisi
18214030 Rezha Kusuma Astri
18214054 Edvin William Handoko
II3231 - Interaksi Manusia Komputer dan Antarmuka


